Well started off the year with working really fast and then as the year got towards the end I ran out of steam....
Able to donate almost 50 shawls to Hospice...
Wednesday, December 24, 2014
Monday, December 22, 2014
Xmas On The Go Bags
I just finished these 2 holiday bag/purse for Xmas..
I just love this pattern for purse/bags..
The Hello Kitty is for my sister-in-law

And this cute little owl purse is for my niece...

I just love this pattern for purse/bags..
The Hello Kitty is for my sister-in-law
And this cute little owl purse is for my niece...
Wednesday, December 17, 2014
3T Shawls
Just finished up these shawls to donate love the quickness of the pattern and they use less then 3 skeins...


Monday, November 17, 2014
My Slipper Project
I came across a pattern from The Pink Slipper Project website that I will be using to crochet slippers for Hospice patients who could really use some new style slippers that will stretch to accommodate various sizes.. Thank you for sharing your pattern Judy Warehime for sharing your crochet pattern...:O)
I took the option to use single crochet for a tighter stitch to keep feet extra warm...
I took the option to use single crochet for a tighter stitch to keep feet extra warm...
 | |
| PATTERN STARTS A THE HEEL & WORKS TOWARD THE TOES |
 |
| SIZE SMALL FOR CHILDREN ENDED UP MEASURING 9 INCHES |
Friday, November 14, 2014
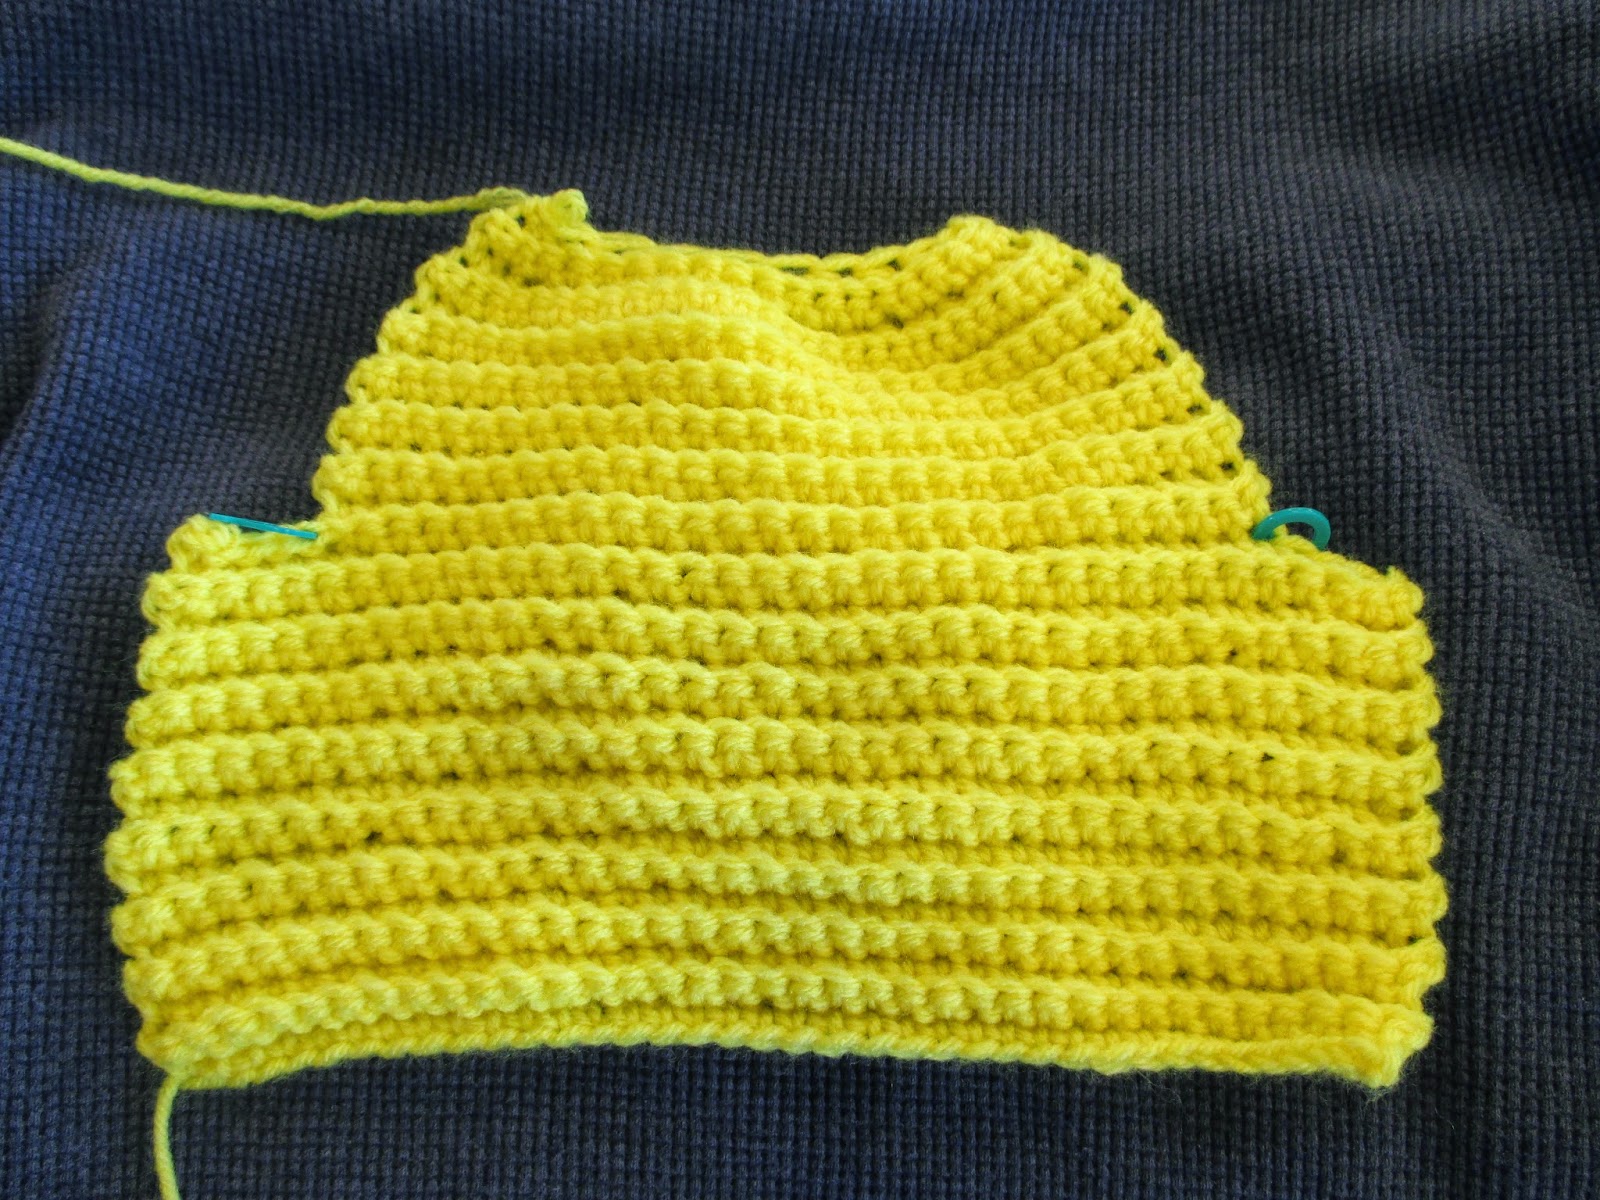
Basic Slouchy Hat 4 ME
Was looking for a hat or beanie that was not to big/too slouchy or even to tight around my head as even a lightly tied bandana can give me a headache with in like 10 mins....
So I came across this slouchy pattern and it worked up great w/ Black I love this cotton from Hobby Lobby that I had in my stash as well as some other random cotton brand I had in my yarn stash :O)
I am whipping up a few to have on hand one for my car and one for when I am at work since I drive for a living I can really use this to keep the hair freezies out of my face when driving w/ the windows down...This multicolor hat was the first one I made & realized it was very tight (re-read the directions and realized I changed from a DC2tog to a sc2tog and this made it super tight to me ie a headache I noticed this when I crocheted the black hat and made sure to not do this lol.. Fit perfect I see ripping the multicolor out and fixing in the future..)
Friday, November 7, 2014
AROUND WE GO BLANKETS
Whipping up different style blanket to donate or to gift for quick baby shower gifts if I stick them in the closet in a tote until they are ready when baby arrives or if your DD#2 says Hey mom I need a blanket for someone as a gift ;0) can you make me a blanket please....The pink/brown/white blanket is 36 inch and the kaleidoscope color blanket is 46 inches...here is the pattern I used....

Wednesday, September 24, 2014


Slipper Time Part 2
I found the pattern I like (easy for me) and was able to create a few pairs of slippers that will get donated to Hospice..
Right now I was testing it out since I made a few changes. I did a single stranded yarn vs 2 stranded & I changed the hook sizes....
I use 3 hooks sizes to create these slippers G-H-J
Kids Size 5-6 with J hook chain 50
Women Size 8-11 with J hook chain 60
Men Size 11-13 with J hook chain 70
Slipper Base: Create your chain then using an H- Hook single crochet in the second chain from the hook into chain and repeat to the across.. Chain 1 turn and repeat for 15 rows then ..End weave in all ends.
Then fold your piece length wise in half the stitch across the bottom, up the toe, then across the top stopping at these following numbers from the tip of the toe (you will stitch it up until this point go around this stitch a few times then weave in the ends then start the cuff.)
Instead of slip stitching as called for the in pattern I changed it to just sewing it up until that point stopping...
****Weaving close the top of the slipper up these many stitches
Kids-13 stitches
Womens-17 stitches
Men's- 20 stitches
For the Cuff: Use the G- hook Do a single crochet in each stitch around then keep single crochet in the round vs rows (w/ a join) to create a cuff .. I did 7 rows slip stitch close & weave ends in...
I will try to take some pictures soon to show the steps... My first pair is for a guy which I had to figure out the chain due to the changes I made...I think if your guy has a bigger foot length increase the chain a few more stitches..& if the person's foot is thicker increase the number of rows up...
These blue slippers fit a man's who wears a size 12 shoe..as you can see it stretches nicely to fit....
Friday, September 19, 2014
Slipper Time!!!!
At Hospice they want me to whip up some slippers for the clients who tend to have cold feet? Say what? I can't make to things match can I .. and what about sizes? S-M-L-XL I am still working on the size part in my mind as the pattern I found & am currently using is more about measuring the length & the fattest part of your foot vs shoe size..HELP!!!!...
I whipped up a pair for my DD keep in mind she has some special feet issues they are different sizes & different widths around as well due to the surgeries she has had.. Here is what I whipped up... Mind you she made me modify them after I made then as she didn't like the point the heel made at the bottom so i folded it up stitched it into place and then stitched it closed on the outside (it created a hole gap so she wanted it closed)
Here is the pattern I found
Tuesday, September 2, 2014
First Fast Easy Crochet Baby Blanket
This is my first baby blanket using this pattern and I am in love since I am able to do this pattern..
I can crochet like crazy but to making something that shows just how well your gauging is well for me that is a totally different story I couldn't make a shawl length wise or a blanket before this pattern that was in rows due to this issue (or anything to line up all nice a pretty) ..I am doing this happy dance over here!!! Thanks again for this free pattern...it's still be completed but I couldn't wait to share it :O) I am using a K hook and some Red Heart Super Saver Multicolor Yarn called Aspen..


I can crochet like crazy but to making something that shows just how well your gauging is well for me that is a totally different story I couldn't make a shawl length wise or a blanket before this pattern that was in rows due to this issue (or anything to line up all nice a pretty) ..I am doing this happy dance over here!!! Thanks again for this free pattern...it's still be completed but I couldn't wait to share it :O) I am using a K hook and some Red Heart Super Saver Multicolor Yarn called Aspen..
This is a close up of the stitch----
basically it's a single crochet- chain 1 into the chain 1 space you created from the previous row which gives it a nice stretch :O)
I love flex/stretchy yet no Holey Gap Spaces little fingers
could get tangled up in....
I am my second skein (total of 10 oz)
My beginning chain 121 was for a newborn size...
Current width is 36.5 inches
One more skein and I should be done.
Wednesday, August 6, 2014
Round Ripple #2
Just Rippling and using up lots of skeins of yarn...I am stockpiling projects to give away when needed...:O) so I have been busy working on some blankets including using up some scrap ball as well and creating something warm....

Monday, July 28, 2014
It's a Round Ripple Blanket
I started this round ripple blanket for a co-workers baby...I got this pattern originally from Ravelry however when I tried I got lost & things didn't come out just right? So I found another pattern & video
I finished it just in time for the new baby it will be for when then baby gets older this yarn/amount of yarn was super heavy...
It was 36 rows and about 6 skeins of White/Mint Green/Pink

I finished it just in time for the new baby it will be for when then baby gets older this yarn/amount of yarn was super heavy...
It was 36 rows and about 6 skeins of White/Mint Green/Pink
Friday, July 11, 2014
K.I.S.S Projects
These are some of recently K.I.S.S==Keep it simple stupid projects that turned out to be harder then a shawl pattern.. These are part of the Xmas gifts I am working on for 2014 I want to have all my Xmas stuff done before Oct...
This green & white one is made from cotton yarn works up quickly and lays very nicely great for summer time wearing Pattern

 Same Pattern using acrylic and it seem heavier and doesn't lay as flat when wearing. Perfect for winter time
This one is a little heavy but was made w/ Aunt Lydia Cotton tread in Olive Green but it looks dark gray it is a little heavy but pretty....Pattern
This white head band to keep your hair back but it's hard to photo well on a styro-dummie head.Pattern


This black head band uses a ear warmer pattern but I wanted it narrower to keep your hair back Pattern
This green & white one is made from cotton yarn works up quickly and lays very nicely great for summer time wearing Pattern
This one is a little heavy but was made w/ Aunt Lydia Cotton tread in Olive Green but it looks dark gray it is a little heavy but pretty....Pattern
This white head band to keep your hair back but it's hard to photo well on a styro-dummie head.Pattern
This black head band uses a ear warmer pattern but I wanted it narrower to keep your hair back Pattern
My Daughter's Crochet Work
About 2 years ago I taught my daughter to crochet...Recently in the last year she had learned to read pattern and charted style patterns. Here is some of her work and her blog Killercrafts.

Dr. Who Blanket for my nephew for Xmas 2014 this took about a month work it here and there...


This scoodie is for my niece for Xmas 2014

This is black and hot pink but looks a little greenish in the photo for my DD #2 for a Xmas 2014

This is for my grandson or my DD 's nephew for Xmas 2014
Dr. Who Blanket for my nephew for Xmas 2014 this took about a month work it here and there...
This scoodie is for my niece for Xmas 2014
This is black and hot pink but looks a little greenish in the photo for my DD #2 for a Xmas 2014
This is for my grandson or my DD 's nephew for Xmas 2014
Wednesday, June 4, 2014
Mills End Mystery Yarn

I was given a bag several bags of Mills End Yarn I had heard about these types of yarn but never seen or used them I was really interested it given it a try.. I also bought 2 myself (Joanne's) they were $7.99 each & I used a 40% coupon to cut the price even lower...This is one of the contains minus one skein as I took my picture after I started my project to write about 3 skeins seem to be full size and one (top skein) seemed like half a skein... Very nice Comfy/Super Soft it how ever had a few end that were knotted to join them.....

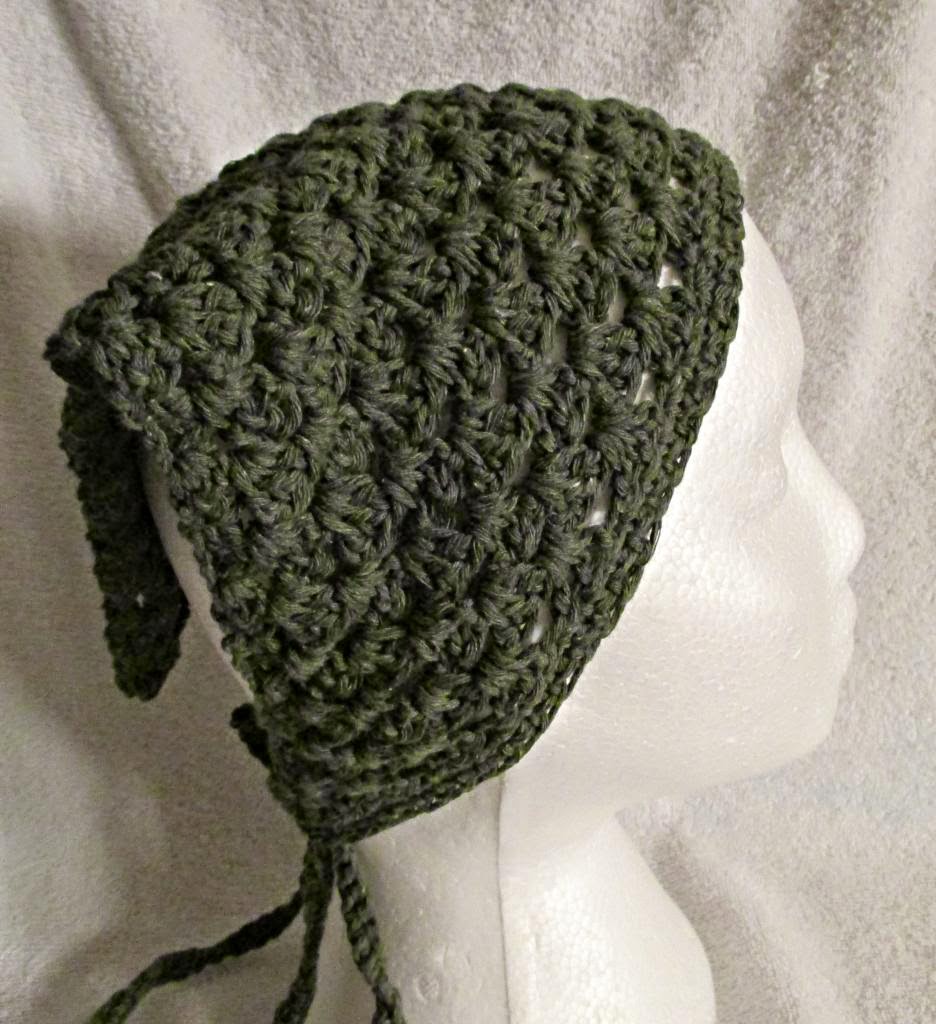
Owl Scarf or Shawl
DD whipped up this shawl that I thought is amazing and wanted to share it with ya it's a little too big to get a great photo it was very wide along the top. She used Red Heart as well as a K hook pattern called for a H hook....Here is the Pattern

Tuesday, June 3, 2014
Morning in the Meadow 3
Just another shawl for the summer light and airy for the hot summers in Phoenix....Went up a hook size and really like the feel-openness of the mesh...

Wednesday, May 21, 2014
Rectangle crochet granny square lapghan
Just finished this last night it doesn't look to rectangle to me? What about you?? It worked up slow but it was slow due to the hook size I used which was a G and the size of the project as I have been doing small cell phone in less then one hour this took over a week to complete...this measured 36 X 32

Tuesday, May 20, 2014
Hospice Donation Tracking
Cell Phone Holders 2014 YTD 18
Lapaghan 2014 YTD
Shawls 2014 YTD 17
Shawls 2013 YTD 36
Shawls 2012 YTD 21
Thursday, May 15, 2014
DD sewing projects
My daughter is also a crochet volunteer as well as an office volunteer.
Here are a few sewing projects she is testing from written patterns give to the Hospice office to see how well they turned out and make sure they are correct in size/length/shape as well as getting ready to start making more to donate..

Foley Bag Cover- For patients who have urine drainage bag and want to have privacy of the contents.

Hand Clutches for patients who need to be able to relax their tight hands a well as to prevent them from having their nails cut into their palms of their own hands..
Here are a few sewing projects she is testing from written patterns give to the Hospice office to see how well they turned out and make sure they are correct in size/length/shape as well as getting ready to start making more to donate..
Foley Bag Cover- For patients who have urine drainage bag and want to have privacy of the contents.
Hand Clutches for patients who need to be able to relax their tight hands a well as to prevent them from having their nails cut into their palms of their own hands..
Wednesday, May 14, 2014
Keyhole Cell Phone Holder Pattern
As
a request from various people I attempted to create a pattern of the
keyhole around the neck cell phone holder I designed for Hospice here in Peoria,
Arizona....If you have a chance try it out and let me know how it
goes...just remember I
am newbie to writing patterns....
Keyhole Cell Phone Cover 2 Created by Jayashiangel May, 2014
Measurements are 3
inches wide by 5-5.5 inches tall
Hook-- This pattern was at a request for Hospice of
the Valley in Peoria, Arizona. I created this pattern to accommodate various
cell phone types and to be worn around the neck as requested
Items needed
Yarn: Your choice. I
use scrap acrylic (less then 3oz) 5 safety pins or 5 stitch markers
Hook:
H hook for foundation
chain and E hook for tighter stitches
single crochet rounds
Stitches: Single crochet Slip Stitch Chain
stitch
The bag part:
Row 1
Chain 12 or the
length/width you want the cell phone bag to be when finished.
Skip the first chain
and do 3 single crochet in the next chain
Then do 1 single
crochet across the chain stopping before then last stitch
In the last stitch do
3 single crochet this creates the width of your bag
Now Pivot/turn to the
opposite side so you can crochet on the opposite side of the stitches..
Do 1 single crochet
in each chain across.
Round 2-more
Working in rounds now
single crochet into the first stitch you will continue working in rounds until
u get about a little of almost 5 inches tall .
PART 2
Time for the fun part the Keyhole & Neck
Strap Rounds: Lay
project flat so you can find center now place stitch marker in center to keep
aligned while you place the other 4. Count out from the middle in each
direction (right/left) 2 stitches place a marker in stitches. Now on the opposite
side from the stitch marker place the other two markers in the 4 stitches out
in each direction (picture below is not
exact just a rough visual)
0000000M0000000 (M is the middle stitch marker)
00000X0M0X00000 (X is the spot for the first 2 stitch markers)
000X000M000X000 (Opposite side row will look like this)
Neck strap first Still using your smaller hook
you will crochet using the chain stitch to the first stitch marker in the hole
where the stitch marker is you will put 2 stitches (this is because this area
will get tugged at a lot) and then chaining 130-150 or as long as desired to create the neck strap. Making sure not to
twist your chain attach to the next stich marker (on the same side) using a
single crochet in the hole 2 times then back to a single crochet. (You can
remove stitch markers as you fill the holes)
Working around until you get to the other side for the next 2 stitch
markers these will be the place you will create the key hole effect in the hole
of the stitch marker do 2 single crochet Chain 7-8 keep from twisting then into the last stitch
marker 2 single crochet again…
Single crochet 1 more row when you reach the neck strap single crochet
in to each stitch and keep working up the chain and then down back to the bag
and continue around and repeat up the keyhole chain doing single crochet this
will make it look clean... when your get close to the neck strap again you will want to slip stitch into the base
of where it connects to hide the last few stitches blending it in. Then fasten off and weave in the loose ends.
Subscribe to:
Posts (Atom)